|
|
|
|
    |
The Complete Blender pages
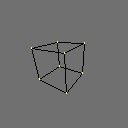
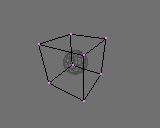
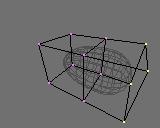
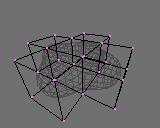
S-Meshes S-Meshes are short for Subdivision-Meshes. With any regular Mesh as a starting point, Blender can calculate a smooth subdivision on the fly; while modeling or while rendering. This allows high resolution Mesh modeling without the need to save and maintain huge amounts of data. In fact you can work with Meshes now as if it were Nurbs Surfaces, but with a more precise control and a more flexible modeling freedom. 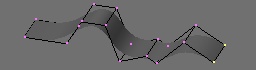 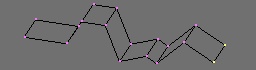 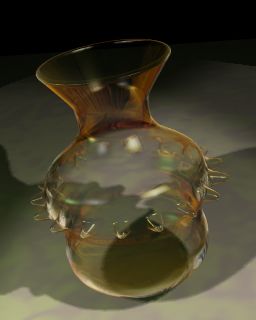  S-mesh is a Mesh option, the button to activate this is in the EditButons menu (F9). The second button Subdiv allows to indicate the resolution for the smooth subdivision. 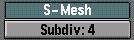 Blender's subdivision system is based at the vertexnormals in a Mesh. For regular Mesh modeling, it doesn't really matter how the normals point. For S-Meshes however it is necessary to have them all pointing inside or outside consistantly. Use the CTRL+N command to make Blender recalculate the normals. 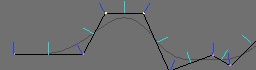 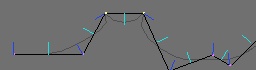 In the above image the face normals are drawn cyan, the vertex normals are the blue lines. You can enable drawing normals in the F9 menu as well. Blender's S-meshes are still under development. The current system allows modeling of smooth and organic shapes best. Also keep in mind that a regular Mesh with square faces gives the best result. IMPORTANT NOTE: Version 1.70 as posted in the ftp://blender.nl/beta/ directory has a better S-mesh implementation than the official 1.70a. You can better use the beta version for S-mesh testing, or wait for 1.71 to be released. Here is a cool example as modeled by Hiroshi Saito: (click at the image for a larger view)  |


